
Glamazons,
I’m low-key obsessed with nail art (but I’m sure you already knew that judging from my current manicure). The problem is I can never quite get the look right when I do it on my own but I found a super easy nail tutorial for Halloween that even a clumsy novice like me can do. Though it looks super-intimidating, with the right tools, I promise it’s as simple as doodling in your notebook (when you’re supposed to be listening in meetings…or maybe that’s just me).
Check out 4 steps to get Spider Web Nails at home courtesy of Jin Soon Choi:
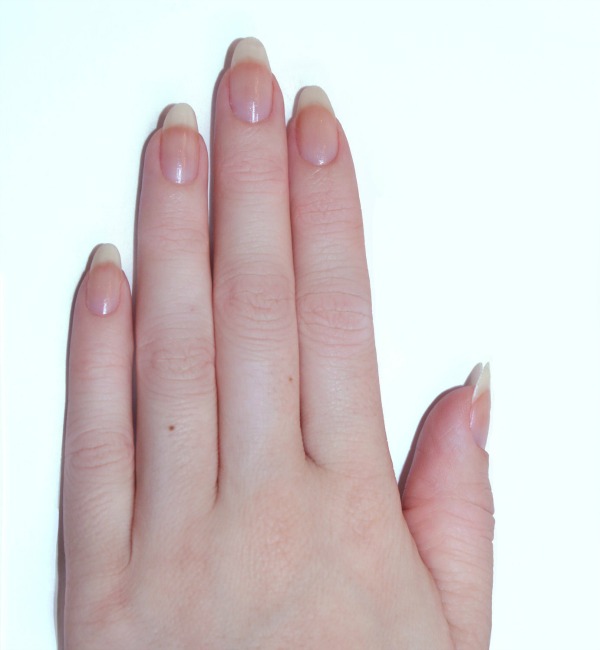
Step1: Apply a top coat like JINsoon Power Coat
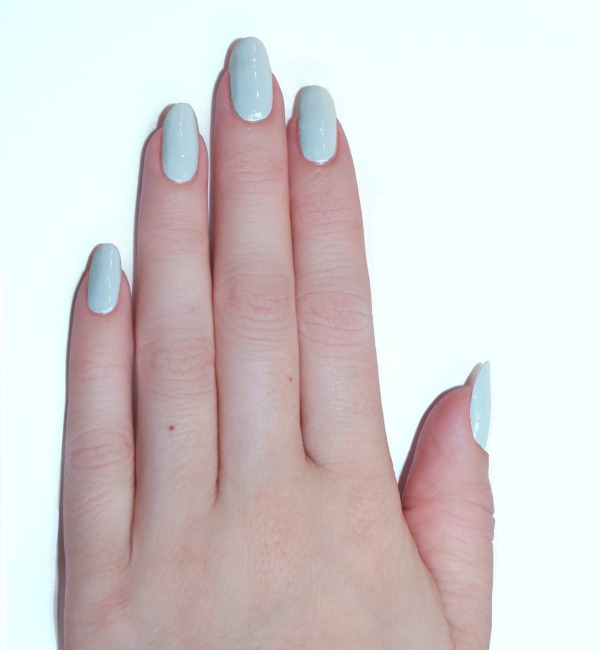
Step 2: Apply 2 coats of JINsoon Kookie White
Step 3: Using a striping brush draw 3 lines outwards from the center of the side of the nail using JINsoon Nocturne. Starting from the inner corner connect them to form the individual strands of the spider web.
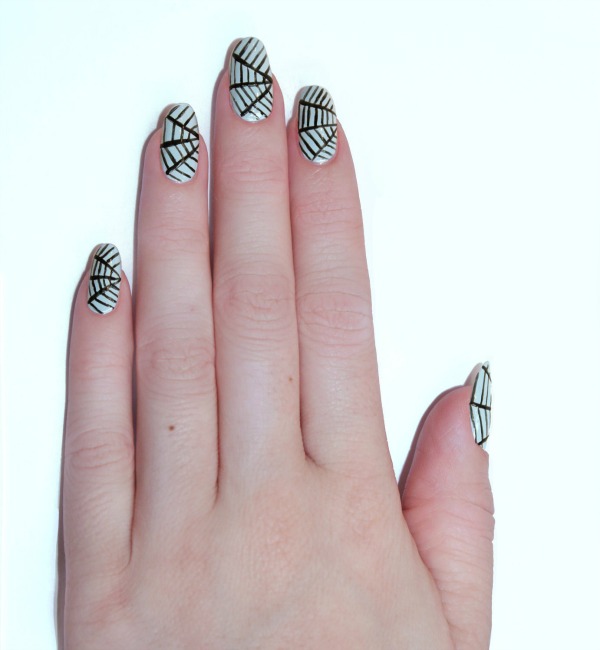
Step 4: Apply a top coat like JINsoon Top Gloss to finish the look
Easy, right? You already know I’m a fan of white nails so I’m going to try to attempt this for Halloween. If you do too, let me know how it comes out!
Kisses,
Glamazon Jessica
