Glamazons,
I love an intricate Halloween nail art design just like the next person but let’s be honest: there’s no way I can do those at home! Fortunately, Jinsoon came up with two easy, fool-proof nail art tutorials just in time for Halloween weekend. I’m all over the ghost art! Get the deets below!
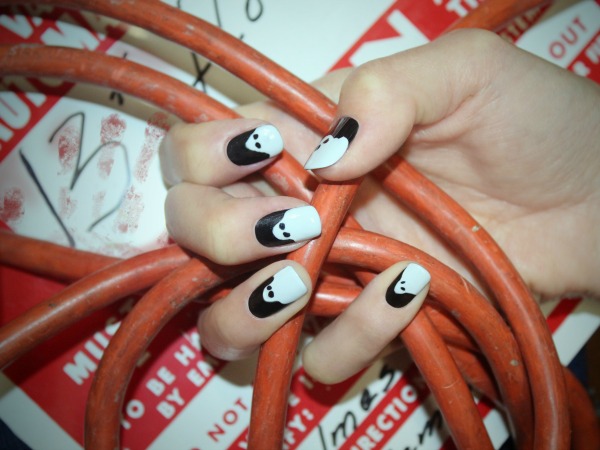
Ghoulish Nails
Preparation Step: Apply a coat of JINsoon Power Coat.
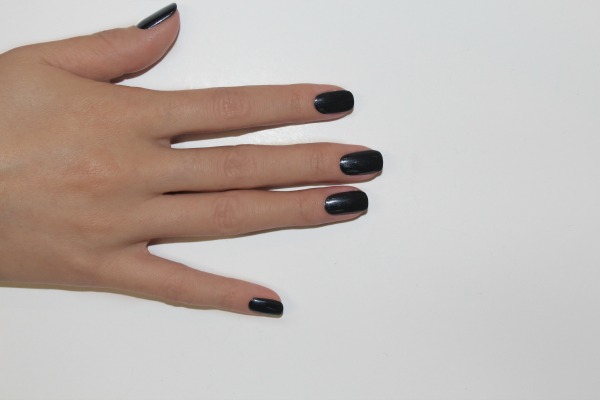
Step 1: Apply JINsoon Nocturne on each nail.
Step 2: Draw ghostly shapes with JINsoon Kookie White at the tips of the nail (feel free to use your imagination with the shapes!).
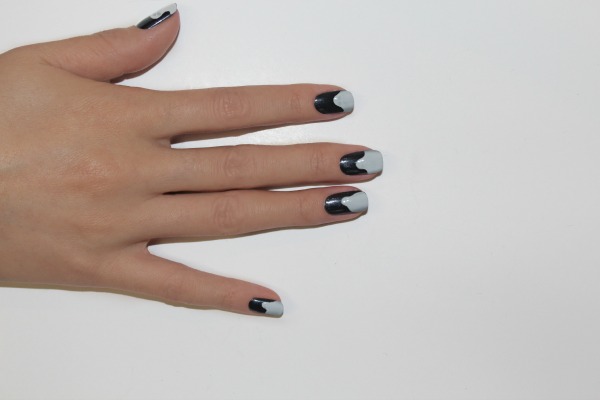
Step 3: Dot JINsoon Nocturne where you would like the eyes to be with the very tip of the brush.

Step 4: Apply a coat of JINsoon Top Gloss to finish it off.
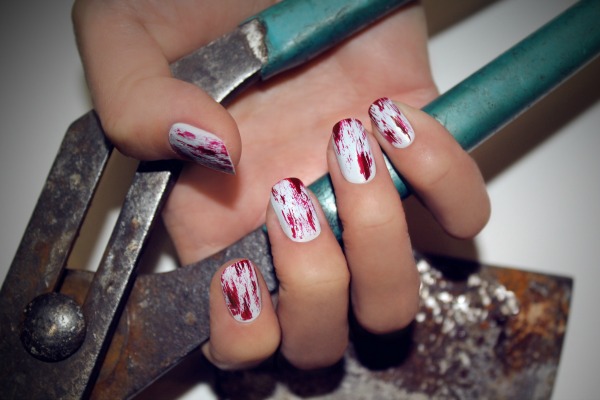
Bloody Nails
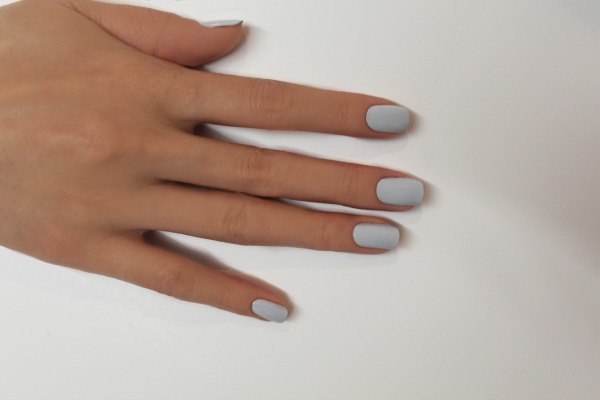
Preparation Step: Apply a coat of JINsoon Power Coat.
Step 1: Apply JINsoon Kookie White on each nail.
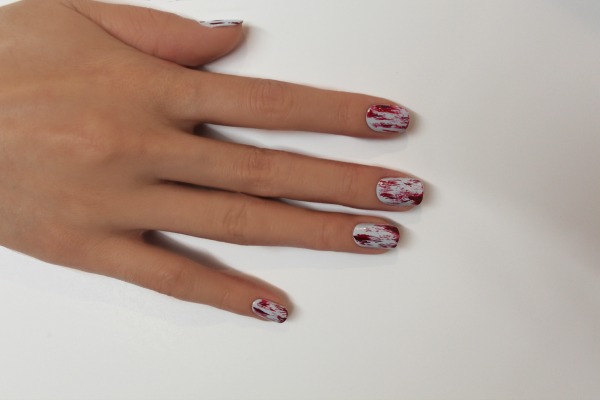
Step 2: With JINsoon Coquette, wipe off all the liquid from the brush on the neck of the bottle and with varying short strokes, apply polish from top to bottom of the nail. Tip: Change up how long the strokes are for a more realistic effect and don’t be afraid to blot it in a few places.
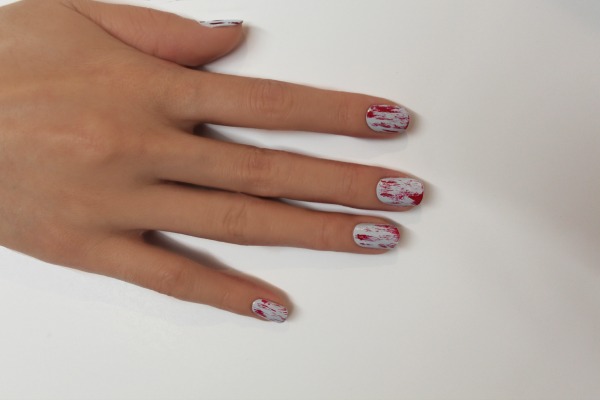
Step 3: Go over the strokes you made with JINsoon Coquette using JINsoon Audacity in the same way, but apply it in fewer places. The goal of this step is to create depth to make the JINsoon Coquette look more realistic.
Don’t you love these designs, Glamazons? Will you try any? Tell me in the comments!
Kisses,
Glamazon Jessica
Image Source: Jinsoon